Planning an itinerary can be challenging, especially for longer trips with many destinations. That’s why I use and recommend Google My Maps, a free and easy-to-use tool that helps travelers organize their trips, visualize their itineraries on a map, and color-code locations for easier planning. This travel guide provides simple steps for creating and customizing your own Google My Maps, making trip planning less stressful and more enjoyable.
To access Google My Maps, a Google account is required. If you don’t have a Google account, you can create one for free.
Benefits of Using Google My Maps
Google My Maps is a great, functional tool that helps travelers elevate their trip planning. Here, I cover the basic features of My Maps, but these are just the tip of the iceberg. Beyond creating, customizing, sharing, and printing, travelers can import images and videos, export an itinerary in KML format, collaborate with family and friends, view on Google Earth, and much more.
These are the reasons why I love Google My Maps:
📌Visual representation of the itinerary (This helps in selecting an ideal lodging location!)
📌Markers list key information and link to Google Maps
📌Ability to share maps with family and friends
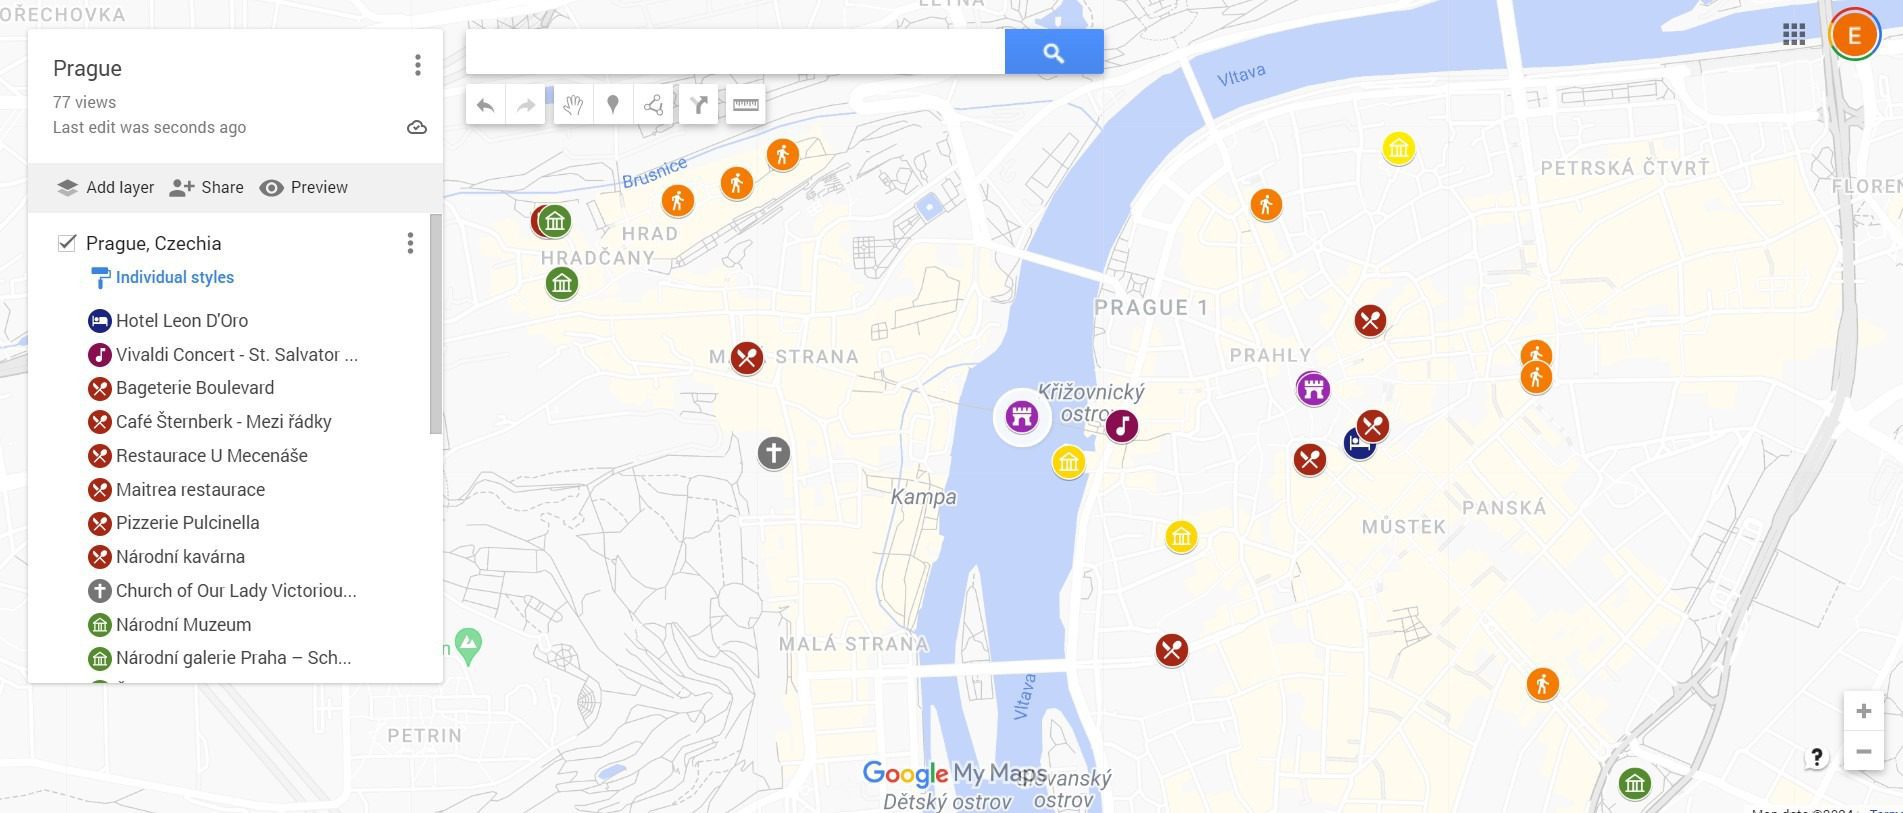
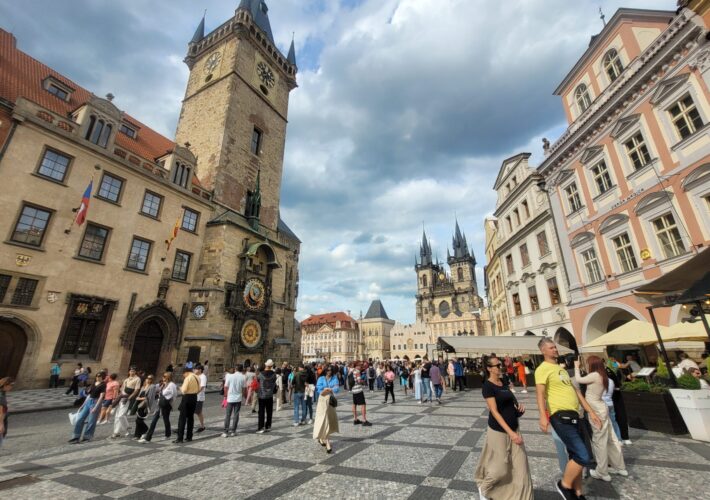
When creating a My Map, I start by pinning all the attractions and restaurants that interest me. Then, I begin building my itinerary by grouping sites that are in the same vicinity, allowing me to explore several places with minimal travel time. For example, when planning my trip to Prague, I noticed that the two art museums and church I was interested in exploring were near each other, so I grouped those three sites into Day 1.
My Maps for My Prague Trip
Creating Your Google My Maps
Now it’s time to start planning your next adventure! First, visit Google My Maps and log in with your Google credentials. Then, you’ll press the orange “Create a New Map” button at the top left.
Once your map is created, follow these three steps:

📌Click on “Untitled map” to give your map a name (Example: Prague Trip 2024)
📌Click on “Untitled layer” to give it a name (Prague)
📌Click on “Base Map” to select the style you prefer for your map. I usually pick the “Light Political, ” the leftmost option on the 2nd row.
Adding and Styling Google My Maps Markers
This is the fun part – adding sites, symbols, and colors!
📌In the search bar, enter the name or address of the attraction, hotel, restaurant, etc.

📌After entering the information, a box will pop up….select “Add to map”.
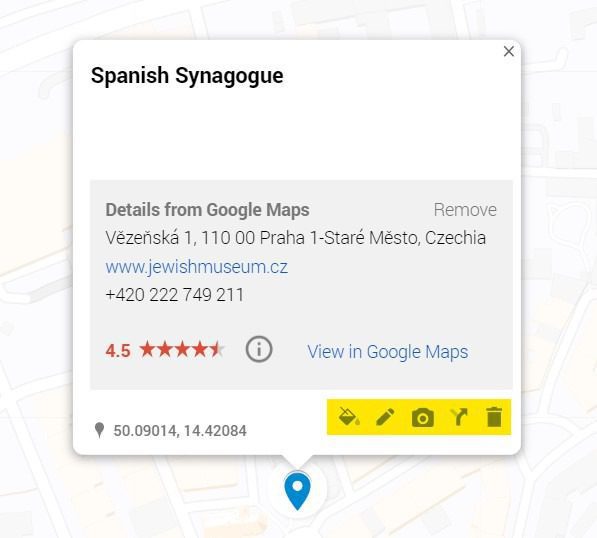
📌Now, you will see 5 icons: Style (paint bucket), Edit (pencil), Add Image or Video (camera), Directions to Here (arrow), and Delete Place (trash can). The Style option lets you choose the icon and color for your marker. Edit is for changing the marker’s name. I only use the Style, Edit, and Delete options.
Suggestions on Ways to Style Your My Maps
-
- Category: Select a different color and icon for the various types of sites (i.e, museum icon – green, parks icon – purple, lodging icon – blue, etc.) (This is the option I use the most.)
- Day: Color-code sites to represent a travel day (i.e, day 1 sites – yellow, day 2 sites – red, etc.)
- Activity: Pick a different color for each type of activity (i.e, hiking – blue, camping – green, guided tour – orange, etc.).
My Maps offers a wide range of icons and colors, so turn your itinerary into a masterpiece! 🌍
Accessing Google My Maps
On your mobile device, you can easily access My Maps on any browser. You can also open My Maps in the Google Maps app, but I find this option less efficient and useful.
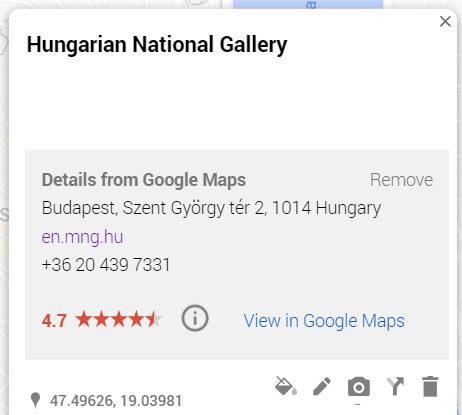
When opening My Maps in your phone’s browser, tap any marker to view information about the site, including a website link to view hours, purchase admission tickets, etc. From this window, you can also click “View in Google Maps,” which opens the Google Maps app and lets you get directions.
Sharing and Printing Your Google My Map
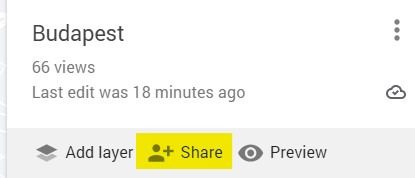
On the left panel, you will find the “Share” icon (a person with a plus sign). Clicking this icon opens a window with a link that can be copied and shared with family and friends. This will solely give them viewing access. For additional options, including granting others editing rights to your map, select the “Share on Drive” button at the bottom of the window.
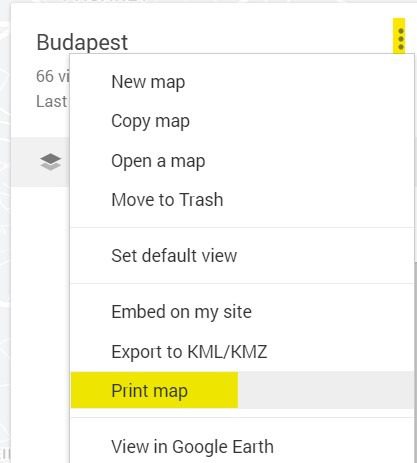
To print your map, select the three dots as shown and then the “Print Map” option. Here you can select paper size, page orientation, and format.
Share your thoughts! Was this travel guide helpful? What other mapping tools do you use to plan your trips?

Leave a Comment