A travel guide to the TSA’s PreCheck program.
Airport security checkpoints have become a major source of frustration for many travelers. Between the long lines, requirements such as removing shoes and taking out liquids, and inconsistent enforcement, security has become a traveler’s woe. In an effort to alleviate some of the headaches related to the security process, the U.S. Transportation Security Administration (TSA) launched the PreCheck program. For a fee, travelers can enroll in PreCheck, which affords benefits such as a separate, shorter security line and no need to remove shoes or take out laptops and liquids.
In this guide, I will share my experience with PreCheck and more information on the program.
TSA PreCheck Facts
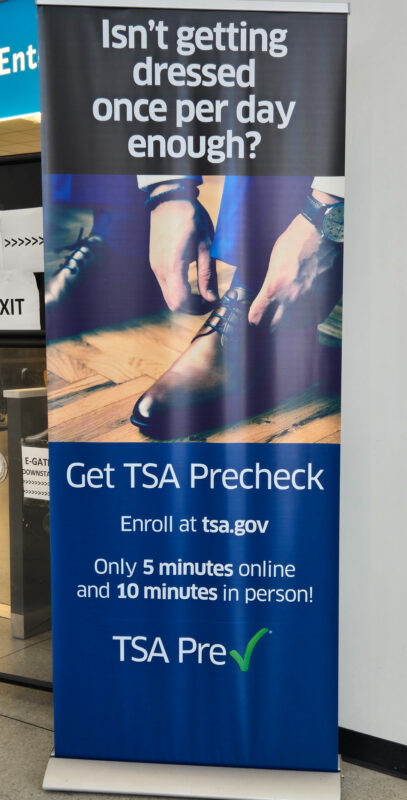
How to enroll? The first step to enrolling is to visit the TSA website and select one of its partner companies (Clear, Idemia, and Telos). These providers support the TSA by managing applications, running background checks, and conducting in-person appointments. Each of these companies sets its own enrollment rates and operates different centers. Travelers can select the one that best suits their budget and has a convenient location.
How complicated is the process? The process is straightforward and takes about 15 minutes. During your enrollment appointment, you present your documentation, have your fingerprints and picture taken, and submit payment. This site lists the items that are considered valid documentation.
How long does it take to get approved? If approved, the TSA will email you in 3 to 5 days with additional information and your Known Traveler Number (KTN).
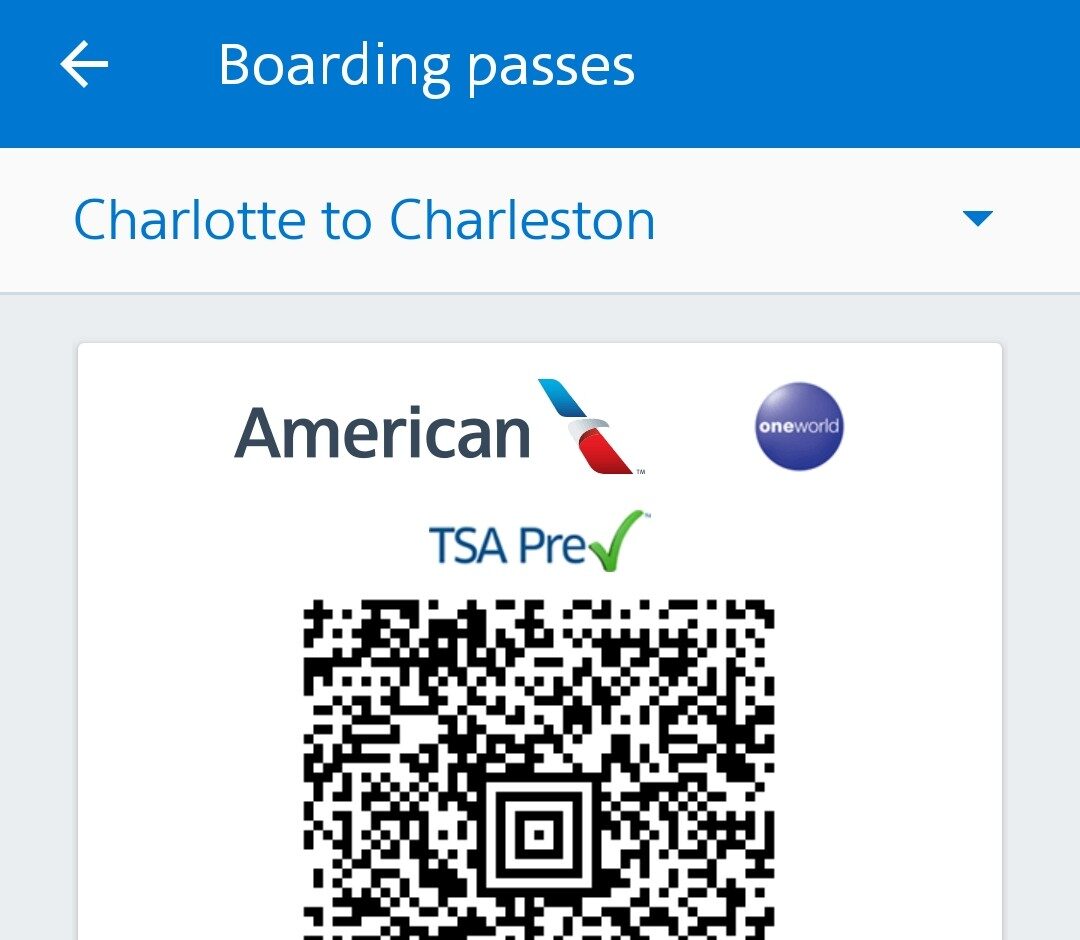
How do I use PreCheck? When booking a flight, enter the KTN as shown below (image on the left). Your boarding pass will then note that you have “TSA Pre✔️” (image on the right). If the boarding pass does not show TSA Pre✔️, you can either check your online account and re-enter your KTN or call the respective airline. I did have one instance where the TSA Pre✔️was not showing up on the boarding pass, and I was able to fix the issue by re-entering the KTN.

TSA PreCheck is valid for 5 years, and then eligible travelers can renew.
Some credit cards and loyalty programs offer TSA Precheck and Global Entry as member benefits.
Global Entry includes TSA PreCheck, so if you are enrolled in that program, you do not need to sign up for PreCheck separately.
My Experience with TSA PreCheck
In 2023, I decided to enroll in TSA PreCheck as I fly domestically several times a year and was looking for ways to minimize the stress related to the security process. I have used PreCheck 11 times in the past 2.5 years, and these are the pros and cons based on my experience.
Pros:
➕ Easy enrollment process: I found the process to be super simple: 1) register for an appointment online, 2) show up to the appointment with the required documents, 3) receive an approval email from TSA. The appointment lasted about 15 minutes, and I received the approval email about 2 days later.
➕ No need to remove liquids, laptops, and shoes: Since enrolling in PreCheck, I have only been asked to remove my shoes once (a pair of fleece-lined winter boots). I love not having to empty my bags during security checks!
Cons:
➖Expedited lines are not guaranteed: TSA PreCheck lanes are only available at certain times, so there is no guarantee that an expedited line will be open when you travel. A lot of my flights are either very early in the morning or relatively late in the evening, and in those instances, the PreCheck lanes have all been closed. Travelers can check the schedule of when PreCheck lanes are available on this TSA page.
When PreCheck lanes are closed and you have to use the standard lines, the TSA will give you a special pass after verifying your ID and flight information. This pass indicates you have PreCheck, which allows you to keep your shoes on and carry liquids and laptops in your bag during security screening.
Resources
For additional information and a great FAQ section, visit the TSA site.


Leave a Comment